Showing posts with label Cupcakes. Show all posts

Sunday, March 8, 2026

Abra Cadabra - A Magical Dinner

I wanted to think of a simple theme I could quickly pull together for my March monthly dinner. I decided on a magician theme -an Abra Cadabra - Celebrating Magical Friendships dinner.  From wands and a top hat to bunny ears and dice decor, it was a fun night with friends.


Invite: I crated a simple black, white, and red invitation with gold glitter accents.  I used images of a top hat, bunny, wand, and cards to pull in iconic magician props. To tie in the "show" aspect, I put the details as a showtime and added the phrase "The Greatest Gathering of Girlfriends Ever Seen!"


For the table, I used a black tablecloth with white and red plates.


As a centerpiece, I set down gold glitter card stock and placed a top hat with a magic wand and a stuffed bunny on top.  I made an arch of cards gluing them to a large zip tie and then put the ends of the zip tie into small glasses filled with dice and red tissue paper to hold it in place.


I added fake bouquets of red flowers, cards, and dice on each side.

I purchased a deck of mini cards from Amazon, lightly glued 3 together, and placed each group of three on a folded napkin.


I created place cards by using hot glue on extra large dice and then adding the guest's name to the top.  I added an alliteration magician title for each guest.


I created magical wine labels for my red and white wine.  I titled the cabernet sauvignon Abraca-Cabernet with a tag line of "Now You See It...Now It's Gone" keeping the same background design as the invitation.  I swapped out the bunny's playing card for a red wine glass. For the white wine, I titled it The Vanishing Vino with a tagline of "White to Wand-erful" adding a wand and a bottle of white wine ready to "vanish" inside a top hat.


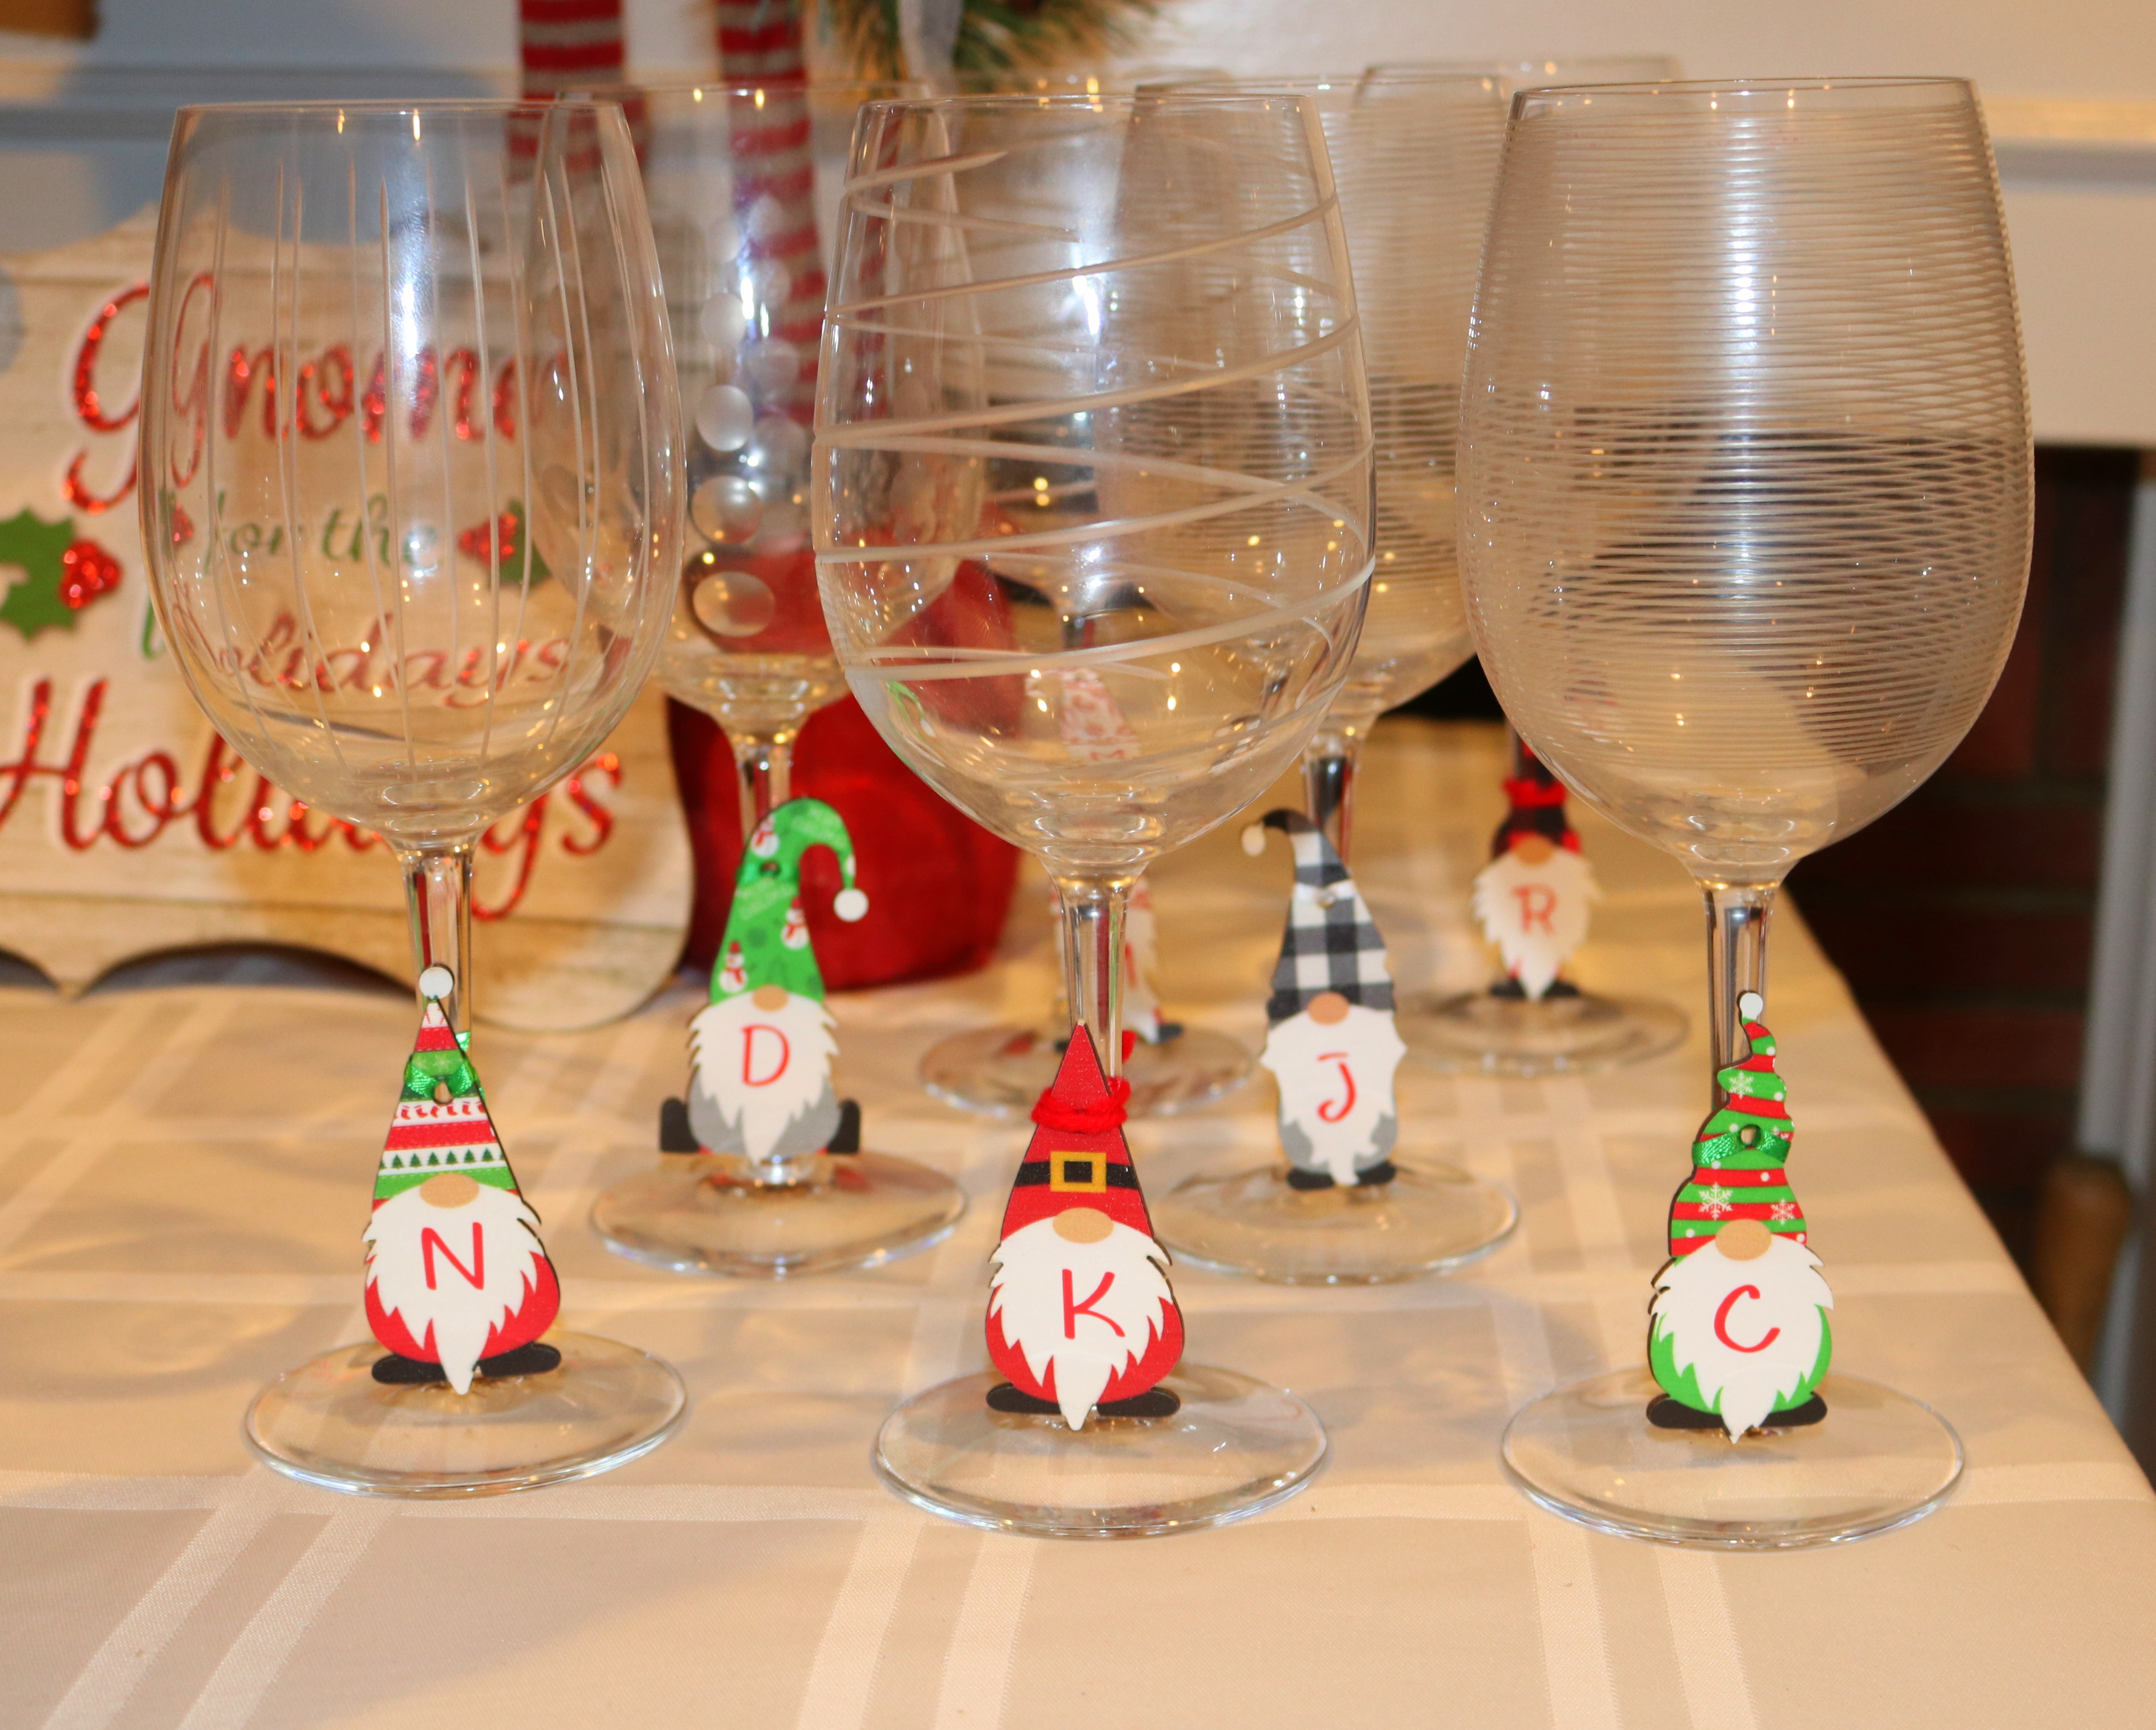
I used more cards from the mini deck I purchased as wine charms.


Added a little decoration to my everyday HOME sign.


Menu: Our appetizer was caprese skewers - tomato, mozzarella ball wrapped in a basil leaf, and then drizzled with balsamic and oil.  I called these Pick-a-Card Caprese with the intention of adding one of the mini cards to each skewer...as you can see in the photo, I got so busy I forgot to add the cards!


Our main dish was pulled pork sandwiches. I made the shredded pork in the crock pot, so I had less stress getting ready after getting home for work. I followed this recipe from Recipe Tin Eats for the rub and the cooking/browning portion. I skipped the homemade BBQ sauce and just used Sweet Baby Rays.  I purchase premade cole slaw to add and brioche buns. For a magic appropriate title, "Pulled from the Hat Pork - The Disappearing Swine!"


One side was green beans I baked in the oven.  Titled these "The Great Veggie-ni."


I also served baked mac and cheese. Since I taught all day and wouldn't get home from work until a couple hours before the party, I had to make these the easy way.  I found a recipe that used boxed mac and cheese that you cooked al dente and then just added breadcrumbs (I chose Panko breadcrumbs), Parmesan, and seasonings before baking it. The magic title for these was "Abraca-Delicious Mac and Cheese."


I had to pull a bunny from a hat somewhere in my menu, so of course it was dessert. We had bunny cupcakes with just the top of the head and ears showing. Simple to make with just a large marshmelow cut diagonally and then dipped in pink sugar.  The black cupcake wrappers were to help it look like a magician's hat.  The plan was to add a black card stock circle to the top of the wrapper to make it look like an upside down hat, but I ran out of time to get them cut.  We had a mini chocolate pretzel wand on the top for added fun.


Favor: Large pretzel rods dipped in chocolate to look like magic wands became my party favor.  I placed them in a bag of Trix cereal and called them Magic Trix!  I thanked my guests for "making the magic happen."


Everything about this dinner was magical - the friends, the food, and the fun details that all came together.  Hope you liked reading about the party!

Saturday, October 14, 2023

Seventeen Magazine Party

Hard to believe, but this past Monday, we celebrated 17 Years of Monthly Dinners!  Yes, I started hosting these parties seventeen years ago before some of us ladies were married or had kids! What a great 17 years it has been.  To honor 17 years, my theme was based around SEVENTEEN magazine.  The decor and meal were full of silly headlines & aspects of this magazine, so it was super fun to come up with what to do.


Invitation:  I found an image of the cover of Seventeen from October 2006 to use for my invitation since this is the month and year that I started hosting monthly dinners for my friends.  I then used Photoshop to change the taglines around Hilary Duff on the cover to represent things about my dinners as well as the party details.  For example, "204 Fun Theme Ideas" because this dinner was our 204th dinner, etc.


Decorations: 
I used bright colors for my table because Seventeen magazine always uses bright pink or red as a focus color.  Kept the centerpiece simple with some beautiful and bright flowers in vases.


I wrapped each vase with two Seventeen magazine covers I printed out on my computer and then taped around the vase.  Simple.


For placecards, I asked each guest to tell me their celebrity crush.  I then printed out a photo of that celebrity as a magnet.  I created a Seventeen magazine style tag for each that read, "How to Be a Guy MAGNET & attract your Dream Man" for fun.  Hopefully you get the magnet play on words with this.


I used bright napkins and created a simple napkin ring with the Seventeen logo on it to wrap around them.

I found another issue of Seventeen Magazine to adapt for my menu.  Each item of the menu had a tagline around Jennifer Lawrence.  These took a bit of creativity to come up with and then to Photoshop onto the magazine image, but it was fun.


I used two more magazine covers to PhotoShop for my wine labels.  I found a Seventeen magazine cover that talked about a Massive SHOPPING Guide with style blogger's coolest pics and makeup deals, and changed it to a Massive WHITE WINE guide with wine blogger's coolest pics and wine deals.  


For the red wine, I used the Katy Perry cover that has The Best FALL CLOTHES for Your Body, and changed it to The Best RED WINE for Your Body.  The rest of the taglines on the cover stayed the same.


For wine charms, I printed out other Seventeen magazine covers.


Magazine Menu:
As stated above, all menu item had a tagline on the Seventeen magazine cover I set on top of each plate at the table.  Our starter was a delicious cheese dip with crackers.  This went with the line, "Cheesy Pick-Up Lines - Don't Fall for that DIP."


For the main dish I served chicken legs that were really tasty.  They were easy to make and baked in the oven, so I didn't have to fuss with them too much.  The seasoning was so good, I made it again later in the week as well.  The tagline for this dish on the Seventeen menu magazine was "Get the Best LEGS ever! Look so tasty, he'll gobble you up!"  The original magazine, had "Best Jeans Ever."


The original Seventeen cover had 250+ easy hair ideas as a main tagline, so I had to think of a menu item that could somewhat go with that.  I decided on straight and curly French fries since hair can be curly or straight.  I purchased curly and regular fries and just popped them in the oven.  I didn't make them from scratch.

Taking some sort of beauty or health related quiz was always popular in Seventeen magazines, so I decided to incorporate a quiz into my menu as well.  My quiz tagline was, "Would you rather VEG out or go out?"  For vegetables, I served red, orange, and yellow peppers, zucchini, mushrooms that I grilled on the stove.


For dessert, I made Orange Crush Cupcakes.  The cupcake is only two ingredients -- a can of Crush soda and a box of vanilla cake mix.  The buttercream frosting had a few more ingredients, but was tasty too. I added a piece of orange slice candy to the top for added fun.  The tagline on my menu for these was, "Guy's Crush Confessions."


Favor:
For the party favor, I had various skin and hair projects found in the travel section of Target.  I found a Seventeen magazine cover that had a bold tagline about hair and skin and simply printed up that part of the cover to use as a tag.

I am not sure if teens know anything about Seventeen magazine since it is only online nowadays, but this was a fun theme to play with.  It could easily be adapted for a teenager's birthday party and just change the magazine title if the teen is not seventeen.


Sunday, December 11, 2022

Chillin' with my Gnomies

Gnomes are all the rage right now, and why not? They are so cute!  I decided to theme our December monthly dinner around gnomes with a Chillin' with my Gnomies party!  This was super fun to create & we had a blast eating our gnome-themed food, painting our gnome craft, and of course hanging with our gnomies to catch up.


Invite: 
Since this was a holiday party, I designed the invitations with red, green, and white as the accent colors.  I purchased a design of a gnome on Etsy, and after getting permission from the designer, I used this same gnome on much of my party decorations including the invitation.


Decor: 
I purchased a few items for this party, but most of the amazing gnomes I borrowed from friends.  For the dining table, I used two snowflake decorations I already owned as the centerpiece along with lots of gnomes.  The cute MERRY gnomes were borrowed.  The two gnomes on the each end of the centerpiece were wine bottle covers that I purchased from Amazon in a 4-pack and just placed these two on pint glasses.


For a place card, I used the gnome from my invitation, and just added each guest's name to the beard.  Instead of napkin rings, I folded a green paper napkin into a hat to add to the place card.  Easy and cute.


For my beverage and favor table, I borrowed these amazing gnomes for the table and the mantle.  I love them so much, and they really added to the decorations.


The beverage and favor table.


Instead of designing wine bottle labels, I purchased these gnome bottle covers from Amazon to use.  As stated above, they were a 4 pack and I only needed two for wine, so the other two created gnomes for my centerpiece.


For wine charms, I purchased these small wooden gnomes from Amazon. I was originally planning to use them as place cards, but when they arrived and were smaller than I anticipated.  I decided to use them for wine charms instead.  I used my Cricut to put the first initial of each guest on the beard.


Outside, I borrowed this blow-up gnome for my front yard to welcome guests to the party. 


Menu:
  Turns out, the only gnome food ideas I found online were desserts, so I had to invent my own meal. We started with a Gnome Garden (Salad).  I cut radishes to look like mushrooms.  On top of the green spinach, I added garbanzo beans, feta cheese, and pecans. Guests could choose either an Italian dressing or a Balsamic Vinaigrette.


I decided to make Gnome-made giant meatballs wrapped in bacon along with mashed potatoes for the main meal.  Although they don't look amazing, my attempt was to have each one look like a gnome head and beard.  I made mini party hats with holiday cardstock to place on top.  For this dinner, I used ground turkey instead of ground beef.  I think the balls would have stayed a bit more round with beef, as the turkey was harder to shape into a ball and flattened a bit in the oven.  For the nose, we just used garbanzo beans.


I made these holiday gnome cupcakes for dessert.  I dipped the waffle cones in red candy melts to give it a little something.  The beard, nose, and green body is gnome-made frosting.


Party Activity: At our December monthly dinners, I always like to have some sort of craft for us to do.  I wanted to make it a simple one that could be done in a short amount of time, so I opted for painted wooden gnomes.  Love how they came out.


My husband cut all the 2x4 pieces of wood before the event.  They were around 10" tall and sanded. I couldn't find wooden circles at the craft store, so I bought brown/tan pom poms to use for the noses.  For the beard, guests could choose from craft fur or a white mop.  The mops are from the dollar store and each mop can make a ton of these gnomes.  The craft fir can make a few gnomes, but is more expensive.  Some guests made eyebrows for their gnome, some did not.


Our first finished gnome of the evening.


Love this spirited gnome my friend painted for her young daughter.  She even painted the mop strands of the beard slightly.

Forgot to get a group photo at this dinner, but we had a great time together to close out our last monthly dinner for 2022.