Thursday, January 5, 2023

Hats Off to a New Year

It's 2023! I am looking forward to the new adventures and happenings of this year for sure.  This first monthly dinner of 2023 we had some simple fun with a hat themed dinner party.  Hats as decor, hat shaped/themed food, and hats on each guest.  It was an easy theme to incorporate into a birthday party, new year party, or just a gathering with friends.  

Invite: Of course the invitation had to have lots of hats.  I decided to use red as my main color because I already had a tablecloth in that color.  I designed the invitation to have various hats on it - simple and cute to wild and fun.  Other than that I kept it simple.


Decorations:
  Hats, hats, and more hats made for easy decor.  I borrowed hats from friends as well as used hats of my own to decorate. I used mostly my kids' dress-up hats for the centerpiece since they are small and more can fit on the table.  I just lined them up along the table like a table runner and used some candles/cups to elevate some of them.


For the place cards, I made top hats out of cardstock.  I cut black cardstock into a 5.5" x 2" strip to use for the top hat, cut two slices for the name card to slide in, and then secured the cylinder with glue from a glue stick.  The bottom circle was 3" in diameter.  I used hot glue to adhere the white ribbon and then printed a name card to slide into the top.  Super simple and quick to make.


For the napkins, I created a simple origami hat using napkins from the dollar store.  I wanted the rim to have a different color, so I just used two napkins in the fold.  I stapled the ends of the hat since it was so thick and I didn't want them to come apart.  They were still easily broken apart for guests to use during the meal.


For my wine, I designed labels that matched with the theme.  For the chardonnay, I changed it to Char-beret and added an image of a French beret.  "J'aime le vin blanc" was also added to tie in the French vibe.  For the red wine, I used the image of the joker's hat from the invitation letting guests know that it was no joke that the wine was good.


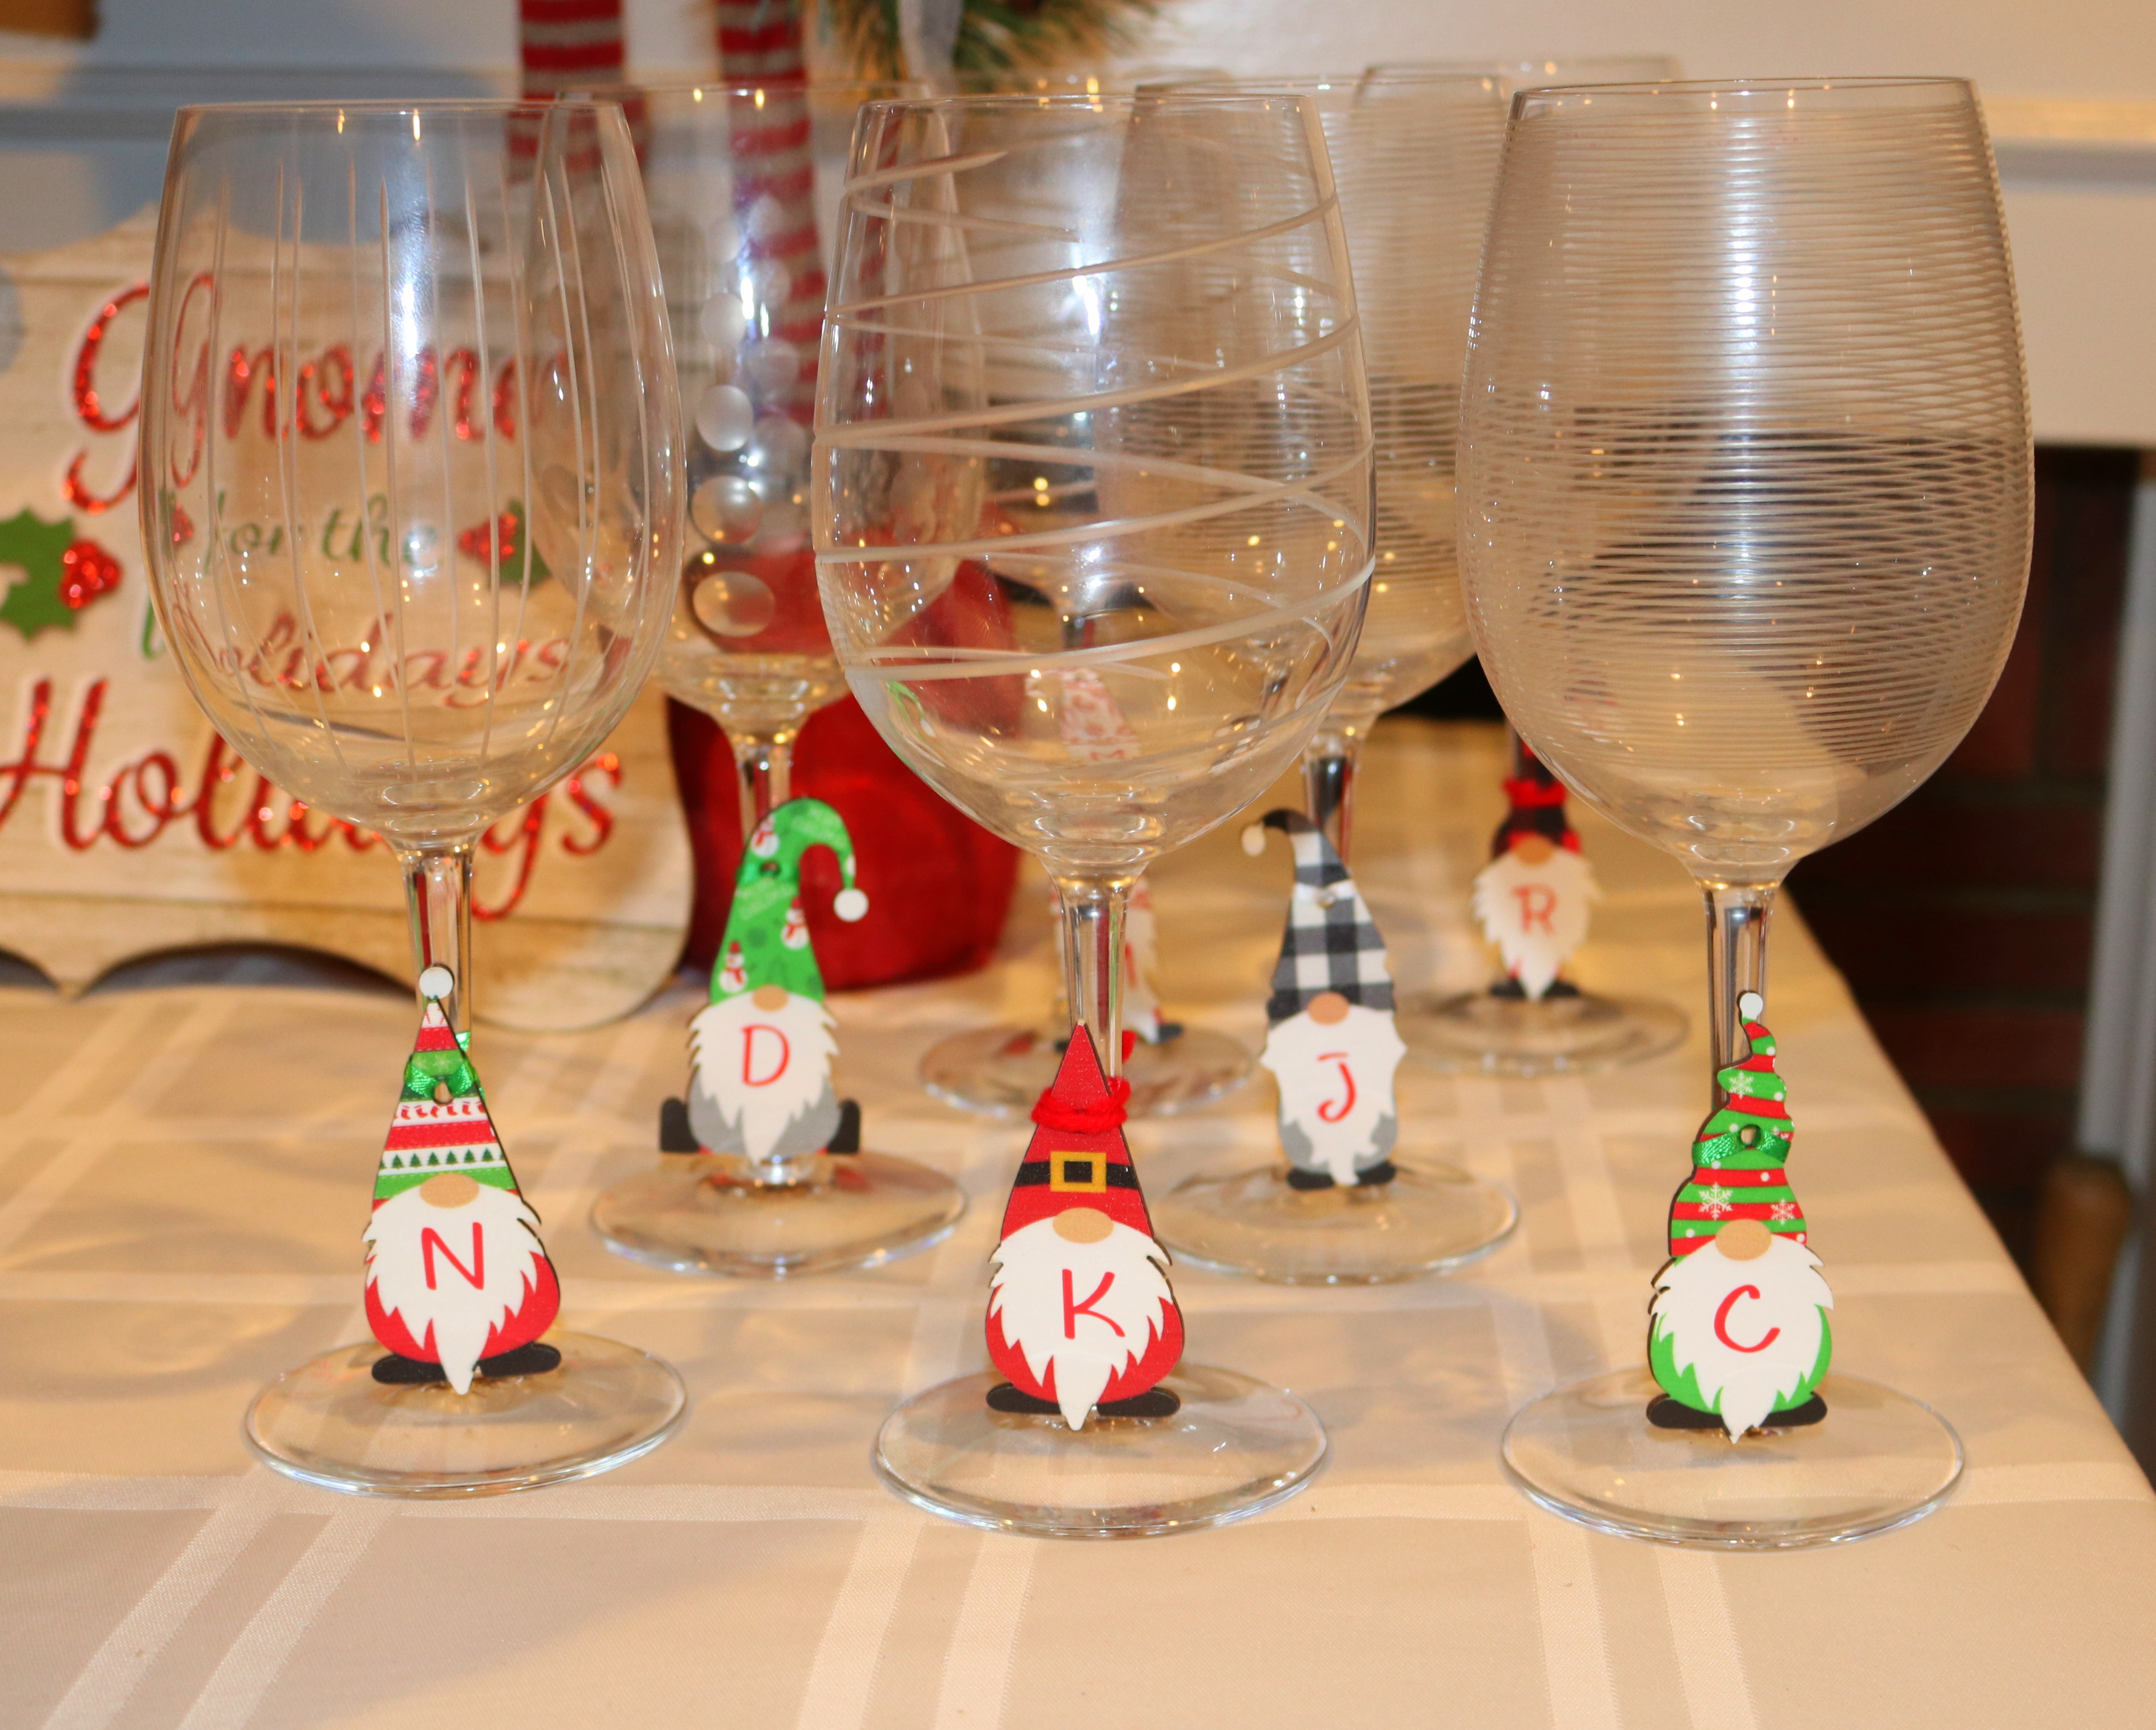
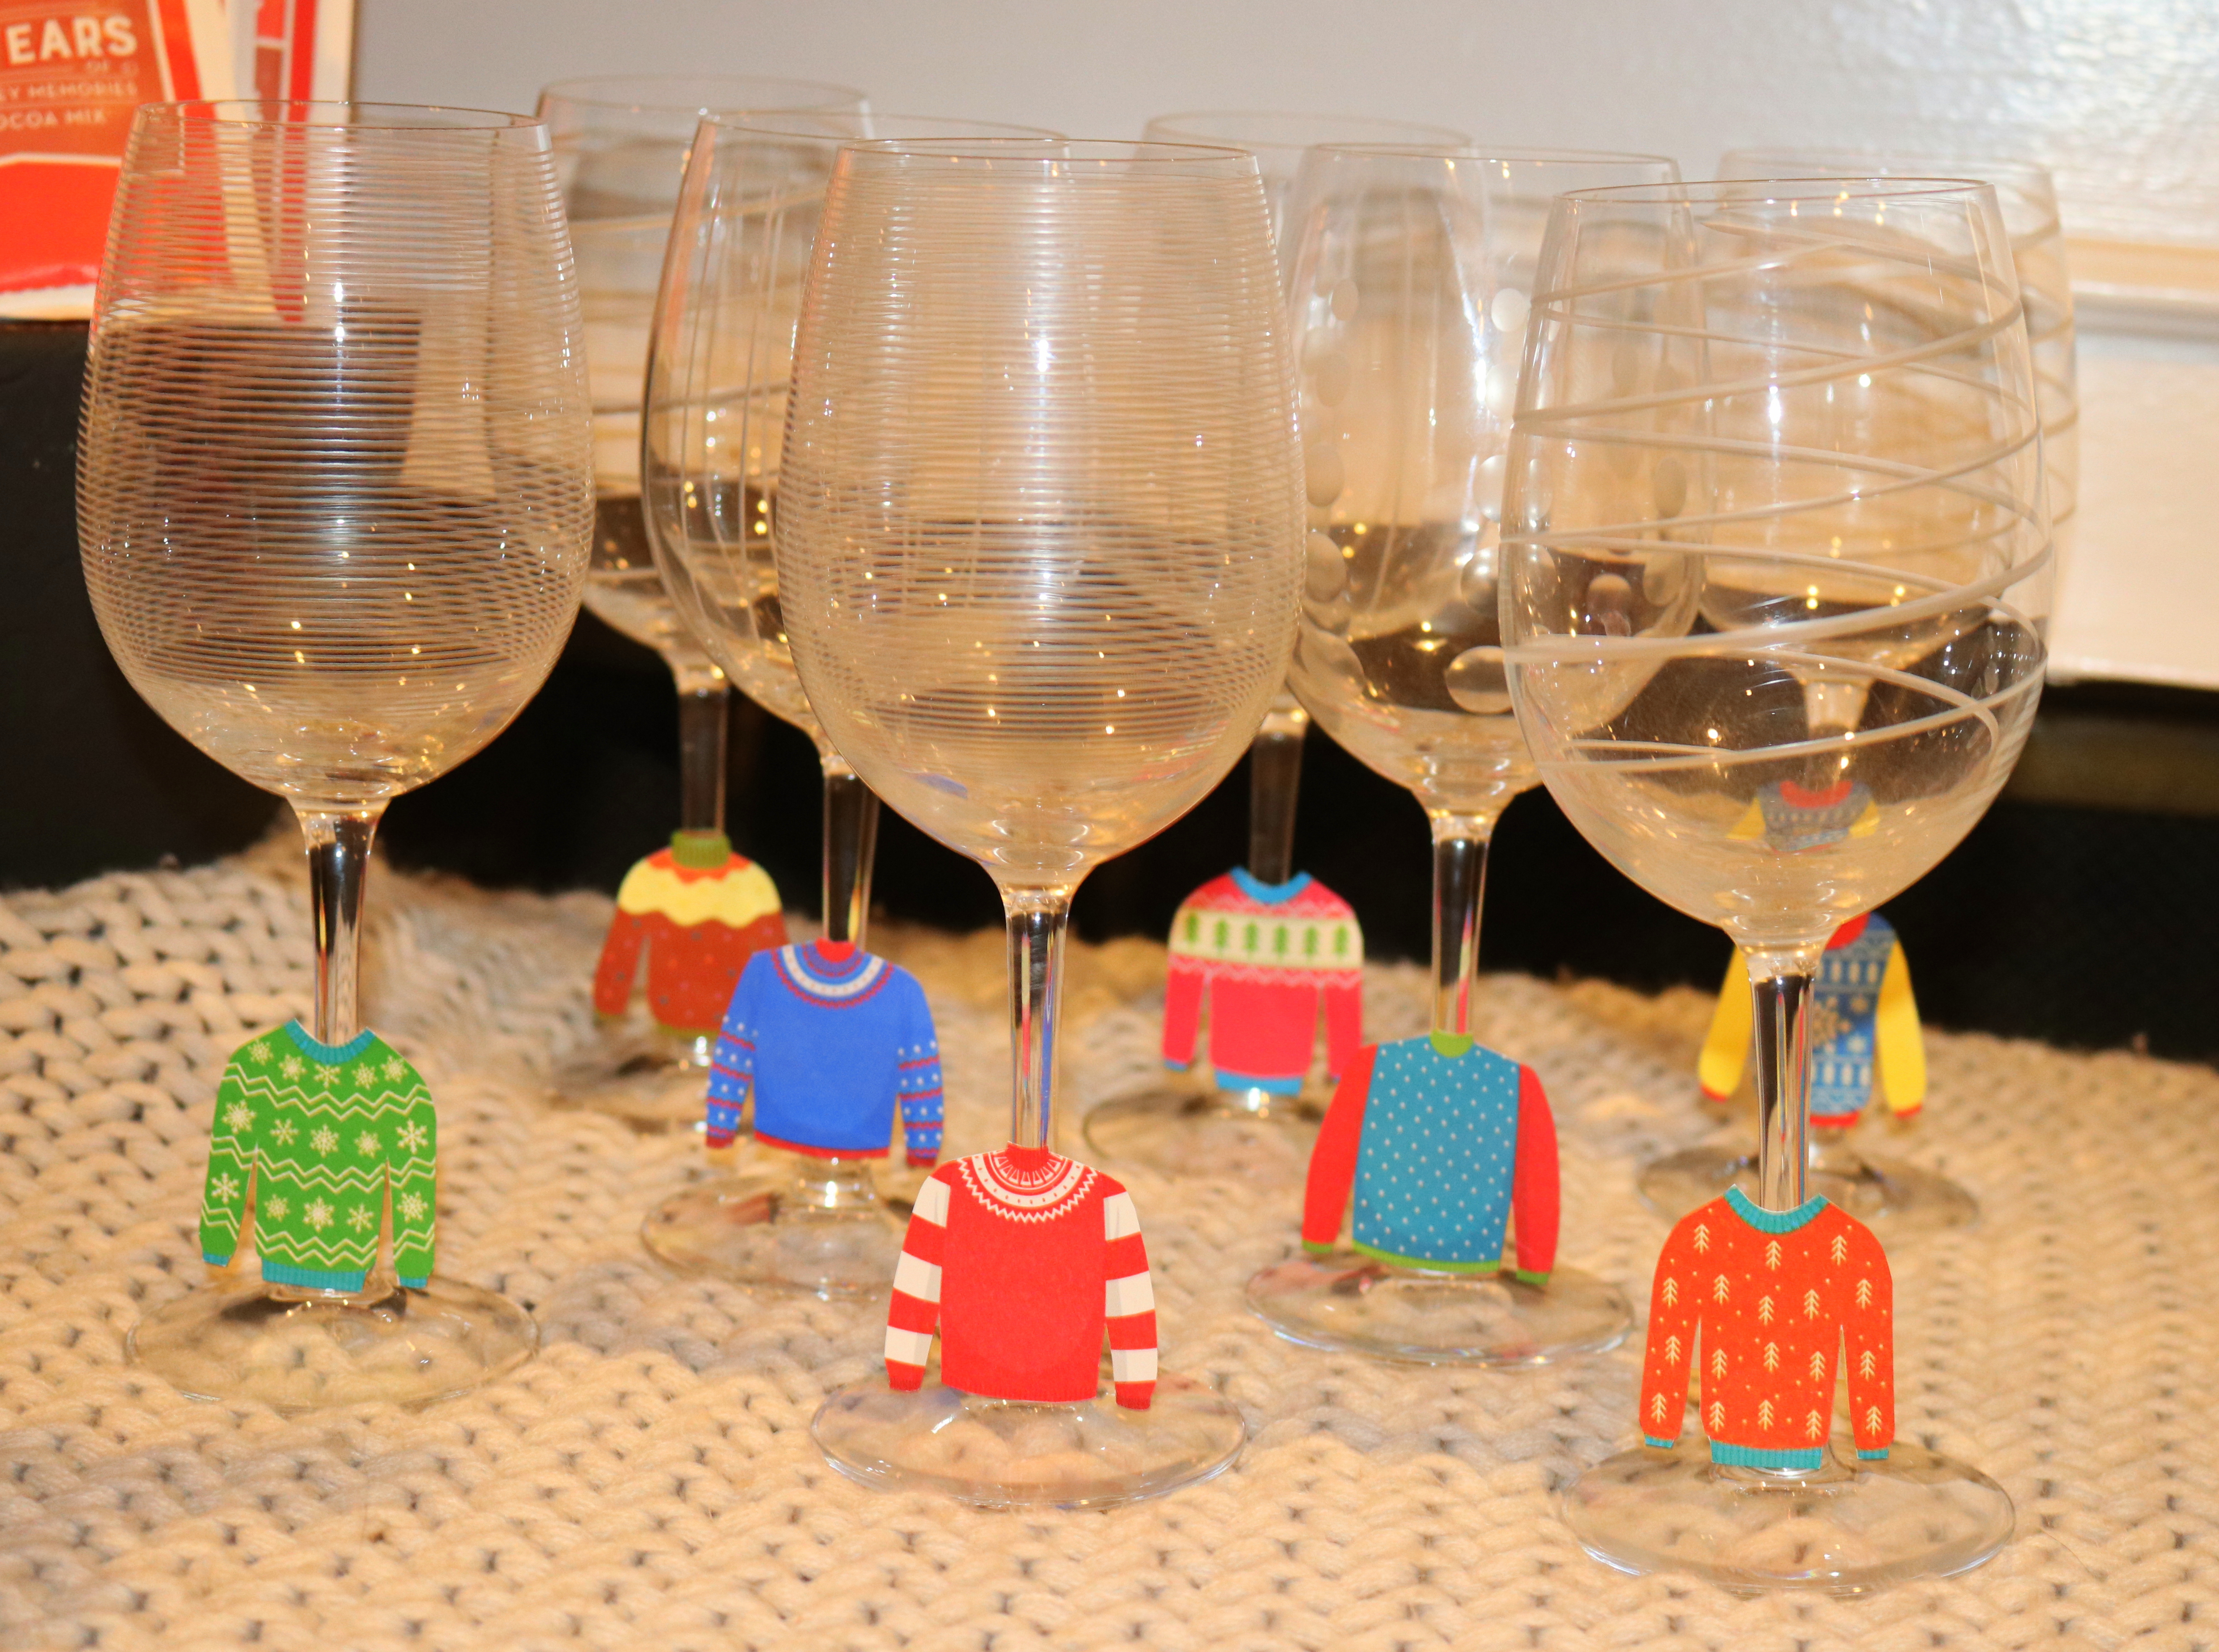
For wine charms, I found clipart images of various fun hats.  Printed them, cut them out, and tied them to the glass stems with ribbon.


Menu: 
I had to get a bit creative to match my hat theme to my menu items.  I started with a Kentucky Derby cheese hat appetizer.  If you do this theme for a party, create this appetizer because it is super easy to put together and the guests gobbled it up.  I bought a brie round for the bottom of the hat and a Boursin garlic and fine herb cheese round for the top.  I loosely tied a ribbon around the Boursin, added some parsley for a flower garnish, and spread Wheat Thins around the hat.


The main dish was a Cowboy Hat Stew.  Loved this recipe because it was a one pot dish, very filling, and tasty for sure. I used the recipe from Gonna Want Seconds.  It was a hit at the party and with 2/3 of my picky children, so I think I will definitely make it again.


Along with the stew, I served a Chef Hat Salad.  This is a hearty salad, so after this and the stew we were pretty full.  This chef salad was a bed of romaine and iceberg lettuce, tomatoes, hardboiled egg, cucumber, bacon, turkey, and cheddar cheese.


For one more hat, I made garlic bread witch hats out of crescent rolls.  Just folded up the bottom of the triangle and curved the top, brushed each with melted butter, seasoned them with Italian seasoning and garlic powder, and then baked them for 10 minutes.


For dessert, we had make your own ice cream sundaes served in mini baseball caps.  Many of us were very full after the meal, but there's always room for ice cream, right?


Favor:
I decided to make homemade salsa for each guest as a party favor.  I put the salsa in small mason jars and added yellow ribbon and a mini sombrero to the top.  I purchased the straw hats at Hobby Lobby along with some mini pompoms and used a glue gun to space the pompoms out along the rim.


I didn't give out prizes for the hats, but it was fun to see the ladies wearing their various hats.  Hats off to you in 2023.  I hope you have an amazing year!

Sunday, December 11, 2022

Chillin' with my Gnomies

Gnomes are all the rage right now, and why not? They are so cute!  I decided to theme our December monthly dinner around gnomes with a Chillin' with my Gnomies party!  This was super fun to create & we had a blast eating our gnome-themed food, painting our gnome craft, and of course hanging with our gnomies to catch up.


Invite: 
Since this was a holiday party, I designed the invitations with red, green, and white as the accent colors.  I purchased a design of a gnome on Etsy, and after getting permission from the designer, I used this same gnome on much of my party decorations including the invitation.


Decor: 
I purchased a few items for this party, but most of the amazing gnomes I borrowed from friends.  For the dining table, I used two snowflake decorations I already owned as the centerpiece along with lots of gnomes.  The cute MERRY gnomes were borrowed.  The two gnomes on the each end of the centerpiece were wine bottle covers that I purchased from Amazon in a 4-pack and just placed these two on pint glasses.


For a place card, I used the gnome from my invitation, and just added each guest's name to the beard.  Instead of napkin rings, I folded a green paper napkin into a hat to add to the place card.  Easy and cute.


For my beverage and favor table, I borrowed these amazing gnomes for the table and the mantle.  I love them so much, and they really added to the decorations.


The beverage and favor table.


Instead of designing wine bottle labels, I purchased these gnome bottle covers from Amazon to use.  As stated above, they were a 4 pack and I only needed two for wine, so the other two created gnomes for my centerpiece.


For wine charms, I purchased these small wooden gnomes from Amazon. I was originally planning to use them as place cards, but when they arrived and were smaller than I anticipated.  I decided to use them for wine charms instead.  I used my Cricut to put the first initial of each guest on the beard.


Outside, I borrowed this blow-up gnome for my front yard to welcome guests to the party. 


Menu:
  Turns out, the only gnome food ideas I found online were desserts, so I had to invent my own meal. We started with a Gnome Garden (Salad).  I cut radishes to look like mushrooms.  On top of the green spinach, I added garbanzo beans, feta cheese, and pecans. Guests could choose either an Italian dressing or a Balsamic Vinaigrette.


I decided to make Gnome-made giant meatballs wrapped in bacon along with mashed potatoes for the main meal.  Although they don't look amazing, my attempt was to have each one look like a gnome head and beard.  I made mini party hats with holiday cardstock to place on top.  For this dinner, I used ground turkey instead of ground beef.  I think the balls would have stayed a bit more round with beef, as the turkey was harder to shape into a ball and flattened a bit in the oven.  For the nose, we just used garbanzo beans.


I made these holiday gnome cupcakes for dessert.  I dipped the waffle cones in red candy melts to give it a little something.  The beard, nose, and green body is gnome-made frosting.


Party Activity: At our December monthly dinners, I always like to have some sort of craft for us to do.  I wanted to make it a simple one that could be done in a short amount of time, so I opted for painted wooden gnomes.  Love how they came out.


My husband cut all the 2x4 pieces of wood before the event.  They were around 10" tall and sanded. I couldn't find wooden circles at the craft store, so I bought brown/tan pom poms to use for the noses.  For the beard, guests could choose from craft fur or a white mop.  The mops are from the dollar store and each mop can make a ton of these gnomes.  The craft fir can make a few gnomes, but is more expensive.  Some guests made eyebrows for their gnome, some did not.


Our first finished gnome of the evening.


Love this spirited gnome my friend painted for her young daughter.  She even painted the mop strands of the beard slightly.

Forgot to get a group photo at this dinner, but we had a great time together to close out our last monthly dinner for 2022.


Saturday, November 19, 2022

Sweater Weather


It is starting to get a little cold outside, and the air is crisping up as we near the holidays.  For this reason, I decided to host my November monthly dinner with a Sweater Weather theme. It has been a busy few weeks, so I kept things simple for this dinner.


Invite: So many sweater invitations are geared toward Ugly Christmas sweaters, but this party was in November, so I wanted to stay away from Christmas vibes.  I found a sweater background, and added pink to it by switching some of the hearts to pink.  I chose pink only because it matched the doll clothes I was using for other decorations.  Besides a little PhotoShop editing, I stayed pretty simple with the invitation.


Decorations: I used a deep blue tablecloth that matched the invitation to cover the table and added some snowflake decorations I found 60% off at Hobby Lobby.  By the way....60% off in the middle of November?  The shelves were almost empty of Christmas decorations and it isn't even close to Christmas!  Yikes! 


I borrowed my younger daughter's American Girl doll sweaters and winter head gear to wrap around wine glasses to add some sweater decor.  I also added a mini braided scarf that my older daughter made to weave throughout the centerpiece.


I folded pink paper napkins to look like sweaters.  This was pretty easy.  I found a tutorial on the Internet and it was easy to follow.  It would have looked better with cloth instead of paper, but I didn't have cloth in any wintery colors.


For place cards, I made these sweater cap ornaments in various colors.  They are really easy to make with just yarn and a piece cut from an empty toilet paper roll.  I stuffed the inside with a tissue to make it poof a little.  The names were next to each hat made to match the invitation.


I found a garland at Michaels that was made of bright colored yarns.  It had all the colors of the party.  I added it above the beverage table along with more snowflakes and lit candles.


I usually make my own creative wine labels for these dinners, but I decided to keep it easy and just use more of my daughter's doll sweaters.  I added a yarn scarf to one.  If you are doing an ugly Christmas sweater party, there are quite a few cute wine sweaters on Amazon.


For wine charms, I printed mini sweaters that I found from images online.  Super easy.  I just had to hand cut them and tape them to the wine stem.

Menu:  Sweater Weather to me means warm comfort food, so that's what I made. 


I started with a woven bread bowl to tie in the knitted sweater idea.  I bought pre-made french bread dough and just used that to make it easy.  The dough was sliced and then woven around a bowl that could go in the oven with aluminum foil wrapped around it and sprayed with cooking spray.  It was brushed with egg wash, and then baked for about 30 minutes, rotating it regularly.

There was some space between the woven bread because we thought it would expand a little, but it didn't very much.  For this reason, I decided to use the glass bowl it had baked around to place inside to hold the salad.  The salad was an Autumn Salad with Apple Cider Vinaigrette.  I found the recipe at Thriving Home here.  It had greens, Feta cheese, bacon, Honey Crisp apples, dried cranberries, and walnuts.


For the main mean, I made a Red Wine Beef Stew in the crockpot.  I got the recipe from The Bewitchin' Kitchen here.  I served it over parmesan cheese and garlic mashed potatoes.  It was tasty and easy. I made it in the morning before I left for work, and then didn't have to do anything but make the mashed potatoes when I got home from work.


For dessert I made S'Mores Pies which were super easy.  I bought individual graham cracker crusts, put half of a broken up Hershey bar in the bottom, and added marshmallows to the top.  I baked them in the oven and just a quick broil to brown them.  They were tasty, but not my favorite dessert.  I don't think I would make them again.  Just a regular roasting of s'mores over the fire would have been fun.


Favor:  For a parting favor, I made my guests these travel mugs with a sweater and "It's all about Sweater Weather" on the front to match the image on the party invitation.  I bought the travel coffee mugs from Michaels ($2 each). I already had scraps of the vinyl.  These were time consuming to make since the letters were small, but they turned out cute.


I used the giant flower pot mug I made way back when I did a Friends theme to hold the hot chocolate packets that guests also took home with their party favor.

As usual, the girls and I had a great time catching up with each other.  We had a few that had to cancel last minute due to the winter sickness that is going around lately, but those of us that were healthy enough to come enjoyed our time together.