Sunday, May 19, 2024

Duct Tape Dinner

My daughter used to love making bags and purses out of duct tape years ago.  I recently came across one of them as I was spring cleaning, and it gave me the idea of hosting a duct tape themed dinner.  There are so many creative things you can do with duct tape, so it made crafting the party details super fun.


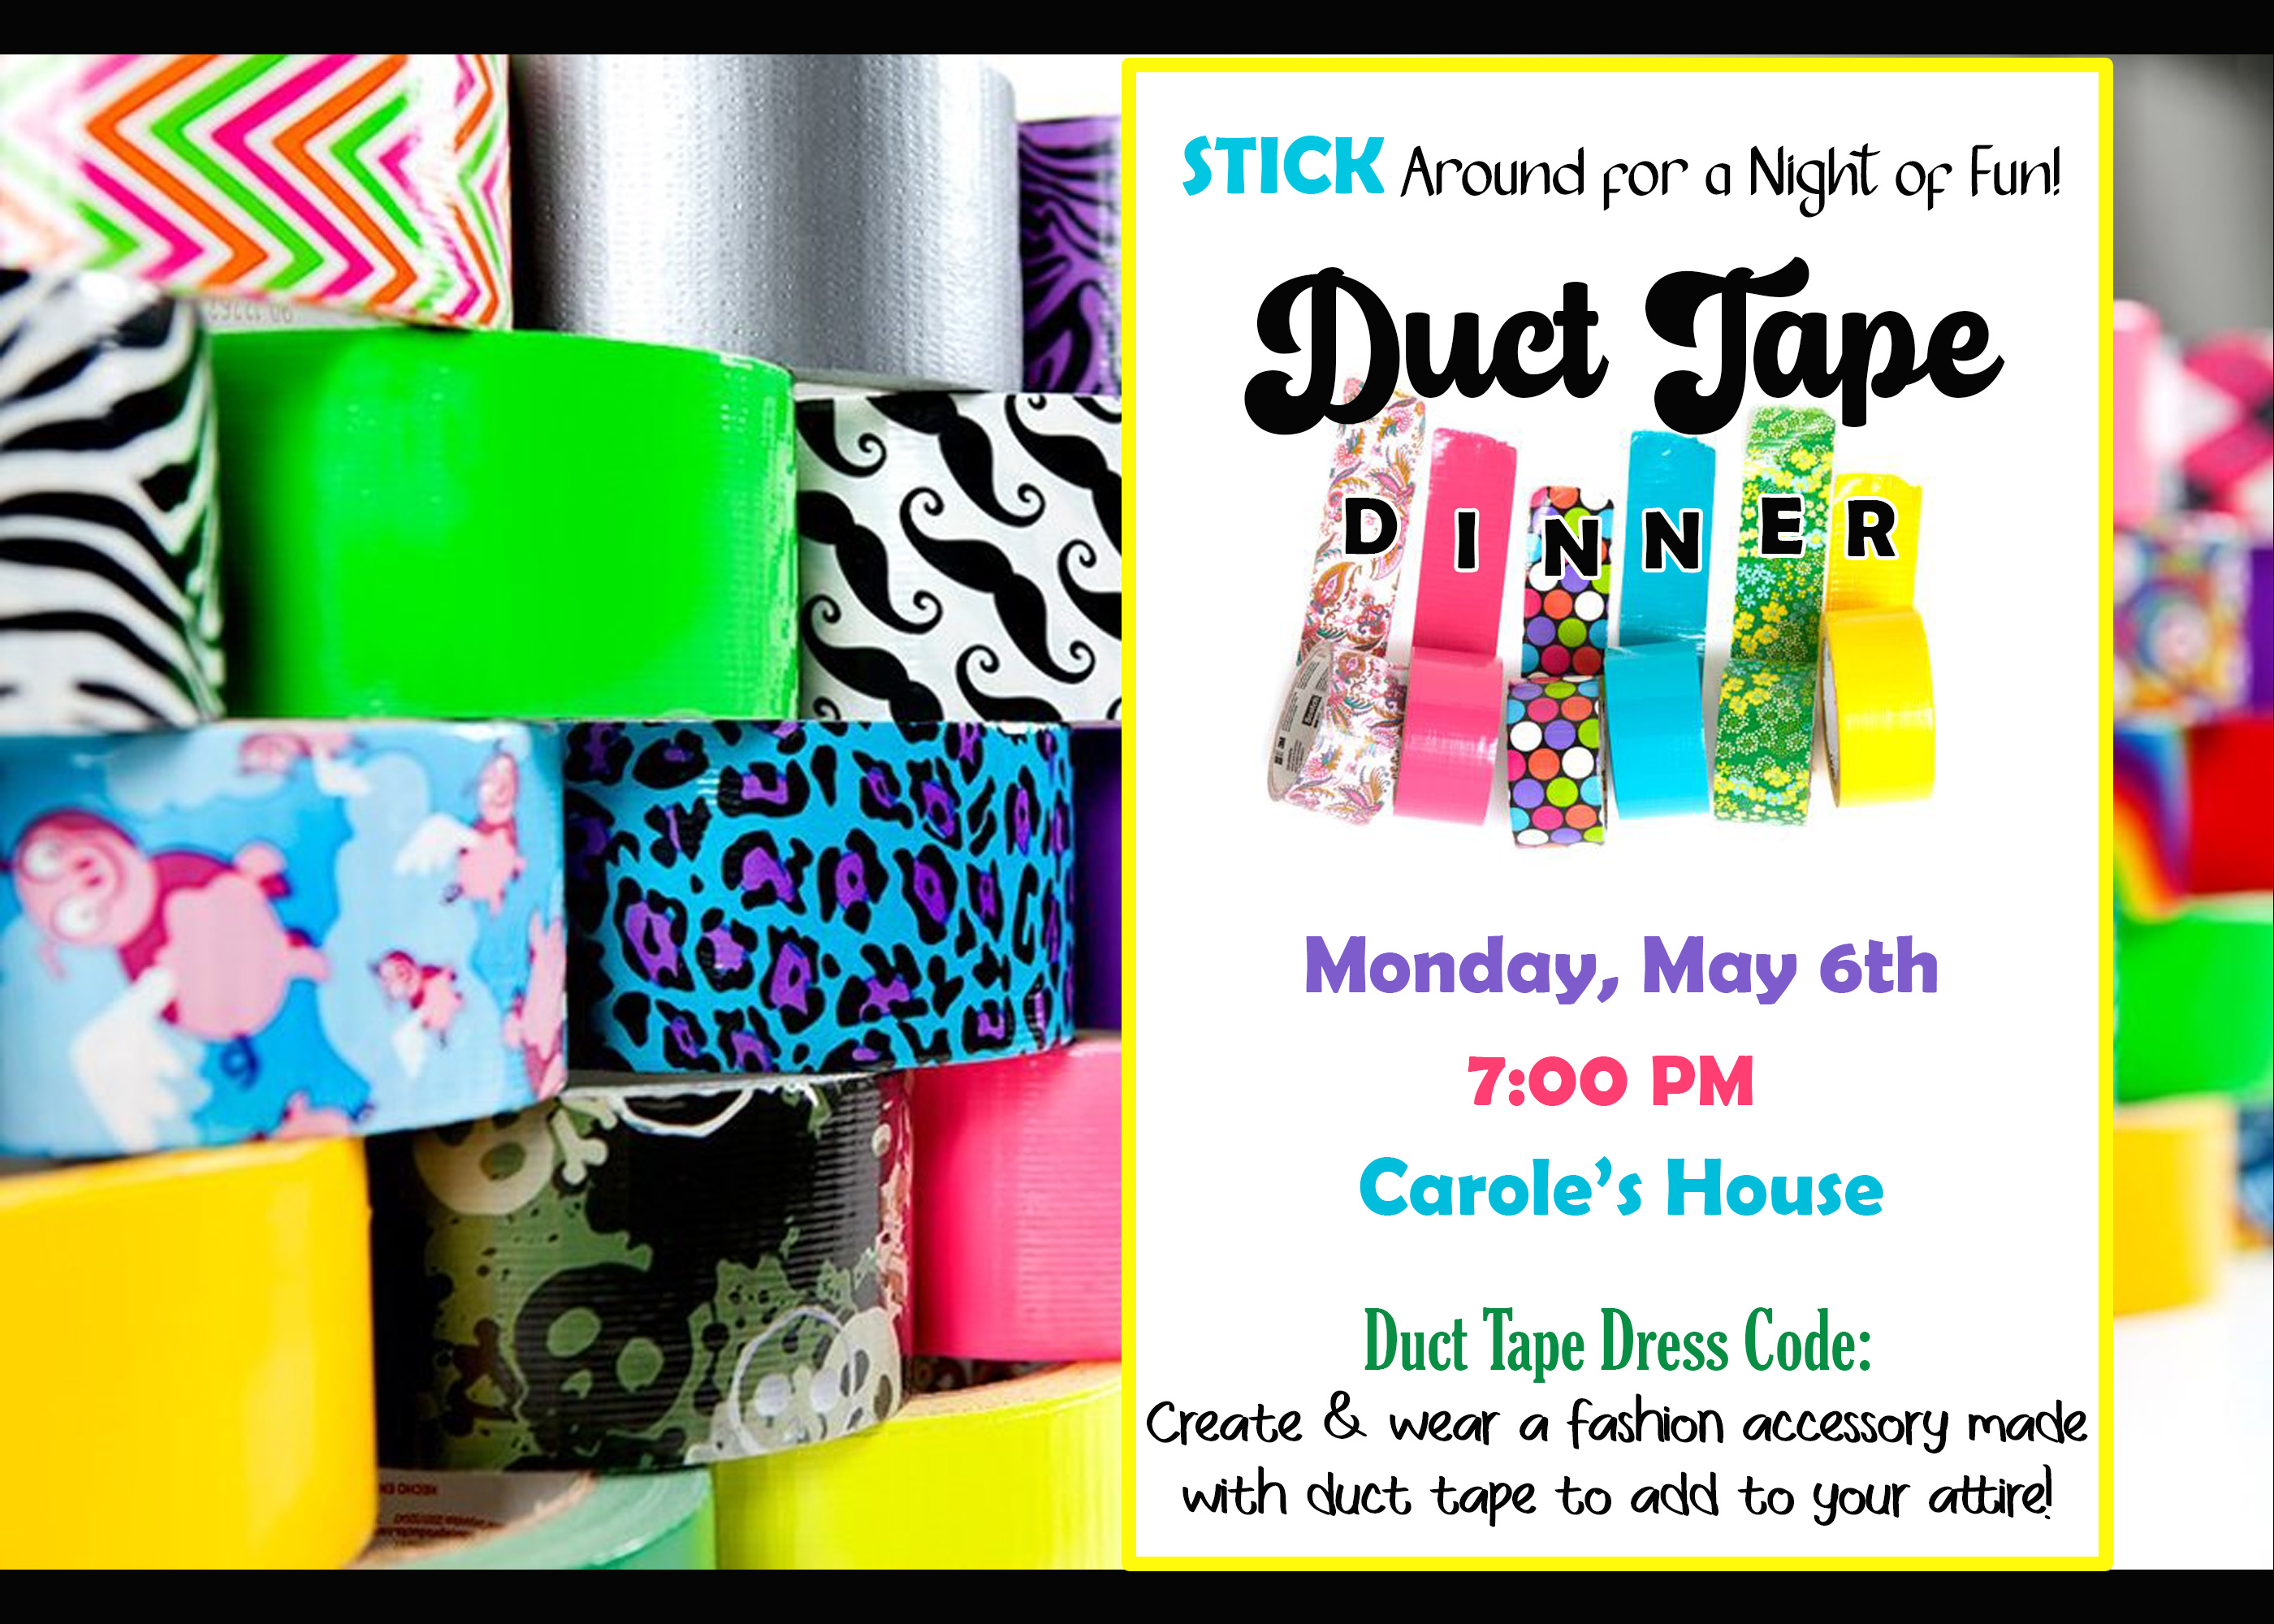
Invite: Found the image of colorful rolls of duct tape online and crafted my invitation around that.  Invited guests to "stick" around for a night of fun, and the evening really did turn out to be a lot of fun catching up with my best girl friends.  


One fun aspect of the party, was that I asked guest to arrive with an accessory made out of duct tape.  We had hair bows and flowers, and many guests had earrings or bracelets.  There are a ton of tutorials online for all kinds of things from easy to more time consuming.  It think it only took me about 5 minutes to make my braided bracelet.


Decorations: 
Of course the decorations were either made with duct tape or were duct tape rolls.  For the table, I took a plastic light blue tablecloth I already owned added stipes of colorful duct tape down the middle that I purchased from Amazon.


For the centerpiece, I made roses out of duct tape.  I used plastic straws as stems that I wrapped with green duct tape, but I would suggest using pencils instead.  Maybe because I used bendy straws, but the roses were not as strong as I think I would have liked.  I followed a tutorial for making these on Pinterest.  I rounded the edges of mine.  Some tutorials don't have you do that as it was an extra step, but I think it made them look more like real roses.  I added duct tape around the vase, and placed a couple rolls of duct tape leaning up against the vase as well.


I also made bowls out of rolls of duct tape to hold small snacks.  To make the bowl, I cut a piece of duct tape that fit across the roles diameter.  Then I flipped the roll over and placed a cupcake liner inside the roll.  The duct tape held it in place and the cupcake liner helped the snacks stay inside.  


I served light snacks: goldfish, M&Ms, chex mix, Reeces Pieces, chocolate covered pretzels, and chocolate covered almonds.  If you stack the rolls, make sure some of the heavier snacks are not the bottom.


For place cards, I printed the guests names on card stock and then decorated each edge of the folded place card with patterned duct tape I already owned.  I tried to think of creative duct tape related slogans to put before each guest's name.  Some examples were: Duct Tape Diva (name), Sticky Situation Solver (name), Adhesive Admirer (name), Stick Together Champion (name), Wrap Star (name).


I used another patterned duct tape for napkin rings.  I cut toilet paper rolls the height of the duct tape and then wrapped it with the duct tape so the napkin could slide out easily and not be ruined.


For wine charms, I used various colors of duct tape to make flags.  Simply wrapped the tape around the stem, lined up the edges and stuck them together. and then cut a wedge at the end.


I designed my wine labels on Photoshop to match the theme as well.  For the white wine, I created the saying, "Stick with Wine: The Duct Tape of Life" and photoshopped the two of the rolls of duct tape from my party invitation around the stem of a white wine glass.  The background behind the middle image was standard grey duct tape with added photoshop details.  For the red wine, I found the saying online, "Wine is like duct tape, it fixes everything" and created a label around that slogan.


Above the beverage/appetizer table, I also make a simple banner with duct tape and string.  Took me no time at all to make.  For my HOME sign, I replaced the O with two rolls of duct tape.


Menu:
As usual, I tried to incorporate the party theme into my menu as well.  We started with chips and salsa which I called an Adhesive Appetizer.  I served the salsa in a ramekin that fit in the center of a large roll of duct tape.


For the main dish, I served Wrap & Roll Burritos.  Guests put what fixings inside their burrito they wanted, wrapped and rolled them up, and then I grilled them to get the outsides crispy.  I served: ground beef, cheese, refried beans, black beans, tomatoes, lettuce, sour cream, olives, and guacamole.  I made flags like the wine charms on toothpicks for guests to use to mark their burrito.  That way they didn't get mixed up when I was grilling them.


With the burritos, I made Sticky Cilantro Lime Rice.  I've made this for multiple dinners and it is always a crowd favorite.


I went easy with the dessert and purchased a Cinnabon Cinna Ring which is a ring of pastry topped with Cinnabon's famous cream cheese frosting. I designed a label "Duct Tape Dessert" for the middle to make it look similar to a roll of duct tape.  I usually hand make all aspects of the meal, but it was nice this time to just have a dessert already done as it just needed a quick heating up.


Activity/Craft:
With May being the month of Memorial Day, I decided to have a craft that guests could make while we chatted and waited for everyone to arrive.  


We made patriotic wreaths out of duct tape.  I bought the red, white, silver, and blue duct tape at the Dollar Tree.  The flag duct tape I purchased from Walmart, and the 12" foam rings I purchased from Joann's.  I found the idea for this at DIY Candy.  Duct tape is so sticky, this wreath is definitely a challenge and you have to be okay with wrinkles, but when it's finished, it is really cool looking.


Favor:
 As a parting gift, I used a raisin box that I covered in colorful duct tape.  I emptied out the raisins and cleaned the inside of the box to get rid of the raisin smell, and then I filled the box with M&Ms. Why a raisin box you ask? No reason other than I wanted that size of box & I didn't want to spend a ton of money and raisin boxes are cheap. I used the owl duct tape from the napkin rings and a solid yellow duct tape for one pattern.  The other was the patterned duct tape from the place cards with a solid orange duct tape. I painted a small clothespin for the top and made a tag that read: "Thanks for being like Duct Tape - Strong & Reliable."

This was a fun theme to work with, and if you are crafty, it is pretty easy to pull off. Hope you enjoyed this post and try a duct tape party of your own with some of these ideas!


Sunday, April 14, 2024

Oh Snap! A Photography Party


A friend of mine and I were talking about a fun photography assignment she has done with her high school English students.  It sounded like something I might want to assign to my students, so I kept thinking about how I might incorporate it into my curriculum.  All this talk about photography got me thinking about photography as a monthly dinner theme, and I decided to run with it!


Invite: I designed the invite on Photoshop with various camera images I found online. I wanted to keep it simple, but still have graphics that represented the theme.  Even added in some photography lingo to the bottom with "capture" and "flash."


Photography Challenge Activity:
When I sent the invitation, I also included a photography activity for guests to do in the week leading up to the party.  I asked guests to take and email me photos representing 4 different categories of photography.  The 4 categories were: Rule of Thirds, Symmetry (bird's eye view/worm's eye view), leading lines, and framing (frame within a frame).  I sent an email explaining the definitions of these and providing examples, so guests knew the technique of the photo they were going to take.


Once I had all the photos from the Photography Challenge, I printed them out and organized them on foam boards from the Dollar Tree to display on easels like a gallery.  It was fun to chat about the different photos and see what guest's came up with in the 4 categories.


Decorations:
I purchased a plastic teal blue tablecloth for the table as that was the closest color I could find to the invitation.  The table was set with white plates with black small plates in the middle.  For the centerpiece, I asked around to friends and a photography teacher to see if I could borrow old cameras.  As you can see in the photo, they came through!  I used photo boxes I already owned to elevate some of them on the table.


I cut cardstock to represent old camera film to place on the table under some of the cameras.


I designed my place cards to look like polaroid snapshots.  I found the dimensions of a polaroid online to set it up. I added a photo of each guest that they had posted on their Instagram or Facebook account.  Then included their name and a couple words about the photo.


For my napkins, I used my Cricut cutting machine to put out photograph film in black and folded a black napkin to weave in the middle.


I designed my wine labels trying to combine photography terms with wine terms. For the red wine, I went with Shutter & Sip: Uncorking Memories.  For the white wine, it was "Lens & Libations: Framing Good Times."


I used the same images of cameras from the invite, plus some others, for the wine charms.  I printed the images out and taped them to the wine glass stem.


Menu:
Since the Photography Challenge involved techniques of photography composition, I decided to stick with this idea for my menu.  We started with a "Rule of Thirds Salad."  For this salad, I used 3 different types of lettuce - iceberg, spinach, and romaine.  I placed the lettuce on a large rectangular plate  so each variety took up one third of the plate.  Then I added all the toppings (tomatoes, cheese, cucumber, & sunflower seeds) to the far right corner to visually represent the rule of thirds in photography.


For the main dish I served rotisserie chicken. The chicken represented the "bird's" eye view of photography.


I served grilled vegetables as well.  I grilled them on skewers and then lined them up to represent "leading lines" in photography.


I served twice baked potatoes or PHOTATOES as I called them.  I served them inside of a frame to represent "framing" in photography.


For dessert I made chocolate mousse that I layered with raspberries.  This represented "depth of field" in photography with its layers.


Party Favor:
  Just for fun, I gave each guest a box of Macaroni and Cheese.  I printed a large photo of a camera to glue to the front of the box with a speech bubble that read "Say (mac &) Cheese!"  Easy and the guests got a kick out of them.


As usual, this was a fun night with friends, and the theme related decorations and touches only added to that fun.  Totally recommend this theme for a simple gathering or even a get-to-know-you (with photos) get together.

Monday, March 18, 2024

Flipping Thru the Channels

I am the ASB Director at the school where I teach, and we just completed a super fun spirit week titled Flipping Thru the Channels.  It was so fun seeing teachers and students dressed up for the spirit days. From MTV Monday wearing band tees to Disney Channel Friday in mouse ears & Disney clothes, it was a week full of fun.  I thought it would make a fun dinner party idea, and that was this month's theme.  It did not disappoint.


Invite: 
I designed the invitation with various TV channel logos along the left hand side and an old school television in the middle.  Since the spirit week at my school was full of fun dress up days, I decided to have guests dress up to represent a channel as well.


Decorations:
I used bold and bright colors for the table as most TV channel logos are bold.  For the centerpiece, I spray painted a box black and added television decals to match the TV on my invitation.  I cut a hole in the top of the box and put a vase inside with flowers.

As a table runner, I set out black card stock and then printed various TV channel logos to spread along the runner.


For place cards, I designed small televisions using Photoshop and then cutting them with my Cricut machine.  I matched a logo that represented various guests hobbies/likes to show on the "screen."  My family travels a lot so I used the Travel channel on my place card with On the Go Carole. A friend who is currently remodeling her bathroom was HGTV with Renovating Rene.  For the antennas, I used push pins with black balls at the end and just stuck them through the card stock of the television.


For napkins, I printed the Disney Channel logo to place on bright yellow folded napkins.  I labeled the Mousekatools (fork, knife, spoon) for guests to pull in that term used on Disney Channel's Mickey Mouse Clubhouse.


For my beverage table, I borrowed an MTV shirt to display behind the wine and party favors.


For the wine labels, I also incorporated TV channels.  The white wine was the logo for TLC (The Learning Channel).  I just switched it up to be Totally Love Chardonnay to represent the letters.  The background of this label was the same TV as the invite all the way around.  For the red wine, I chose the Red Zone channel from NFL Network. I designed the label with a glass of red wine and the NFL logo in it.


The wine charms were just various TV channel logos that I printed out and put on the glass stems.


Menu:
As a main dish, I served garlic mushroom chicken that was delicious!  I followed this recipe from Cafe Delites, except I baked the chicken in the oven instead of on the stove as I didn't want to be stuck in front of the stove and not interacting with guests.  I did do the mushroom mixture on the stove, but that didn't take long.  This is a recipe I will definitely make again.  I used an acronym for this dish to match with the AMC television channel.  Instead of American Movie Classics, I had it stand for Amazing Mushroom Chicken.


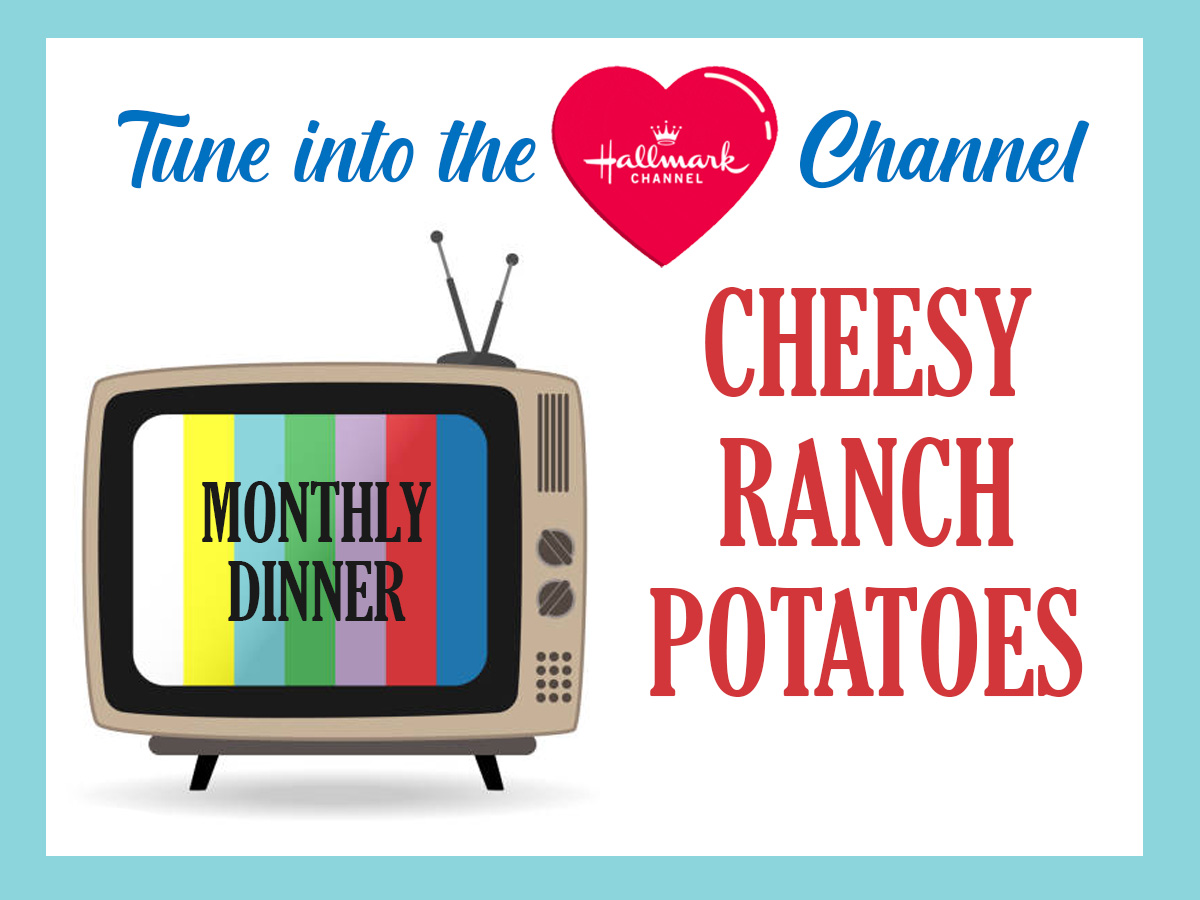
As a side dish, I made Baked Cheesy Ranch Potatoes which were also amazing and super easy to make.  I chose this "cheesy" dish to go with the Hallmark Channel.  I am a sucker for all of their cheesy holiday movies!


I also made a fruit platter and organized the fruit on a platter in the shape and colors of the NBC peacock logo.  I served pineapple, cantaloupe, strawberries, purple grapes, blueberries, and honeydew.  The NBC letters I cut out on my Cricut. 


For dessert, I made a sponge cake.  My good friend did all the SpongeBob themed icing on the cake to represent the Nickelodeon channel.  I also added the top of the pineapple to the platter to add to the SpongeBob theme.  


Favor:
The party favor was easy to throw together.  I simply wrapped Hershey bars in black cardstock, and then designed an image of a remote control on Photoshop to print and glue to the front to make take home remotes.  The text read "Thank You for Tuning In."  Guests can enjoy a candy bar as the Flip Thru the Chanels at home!

I didn't take any photos of my guests at this event, but we had several channels represented.  I wore an MTV shirt, one guest wore a jersey to represent ESPN, a few guests wore Disney ears.  So many options to work with - safari gear for Discovery Channel, decade dress for History Channel, chef attire for Food Network, etc.  This was a fun party and would be great for a get together or birthday party theme.